Used Plastics Assembly & Welding Equipment for Sale
9 results
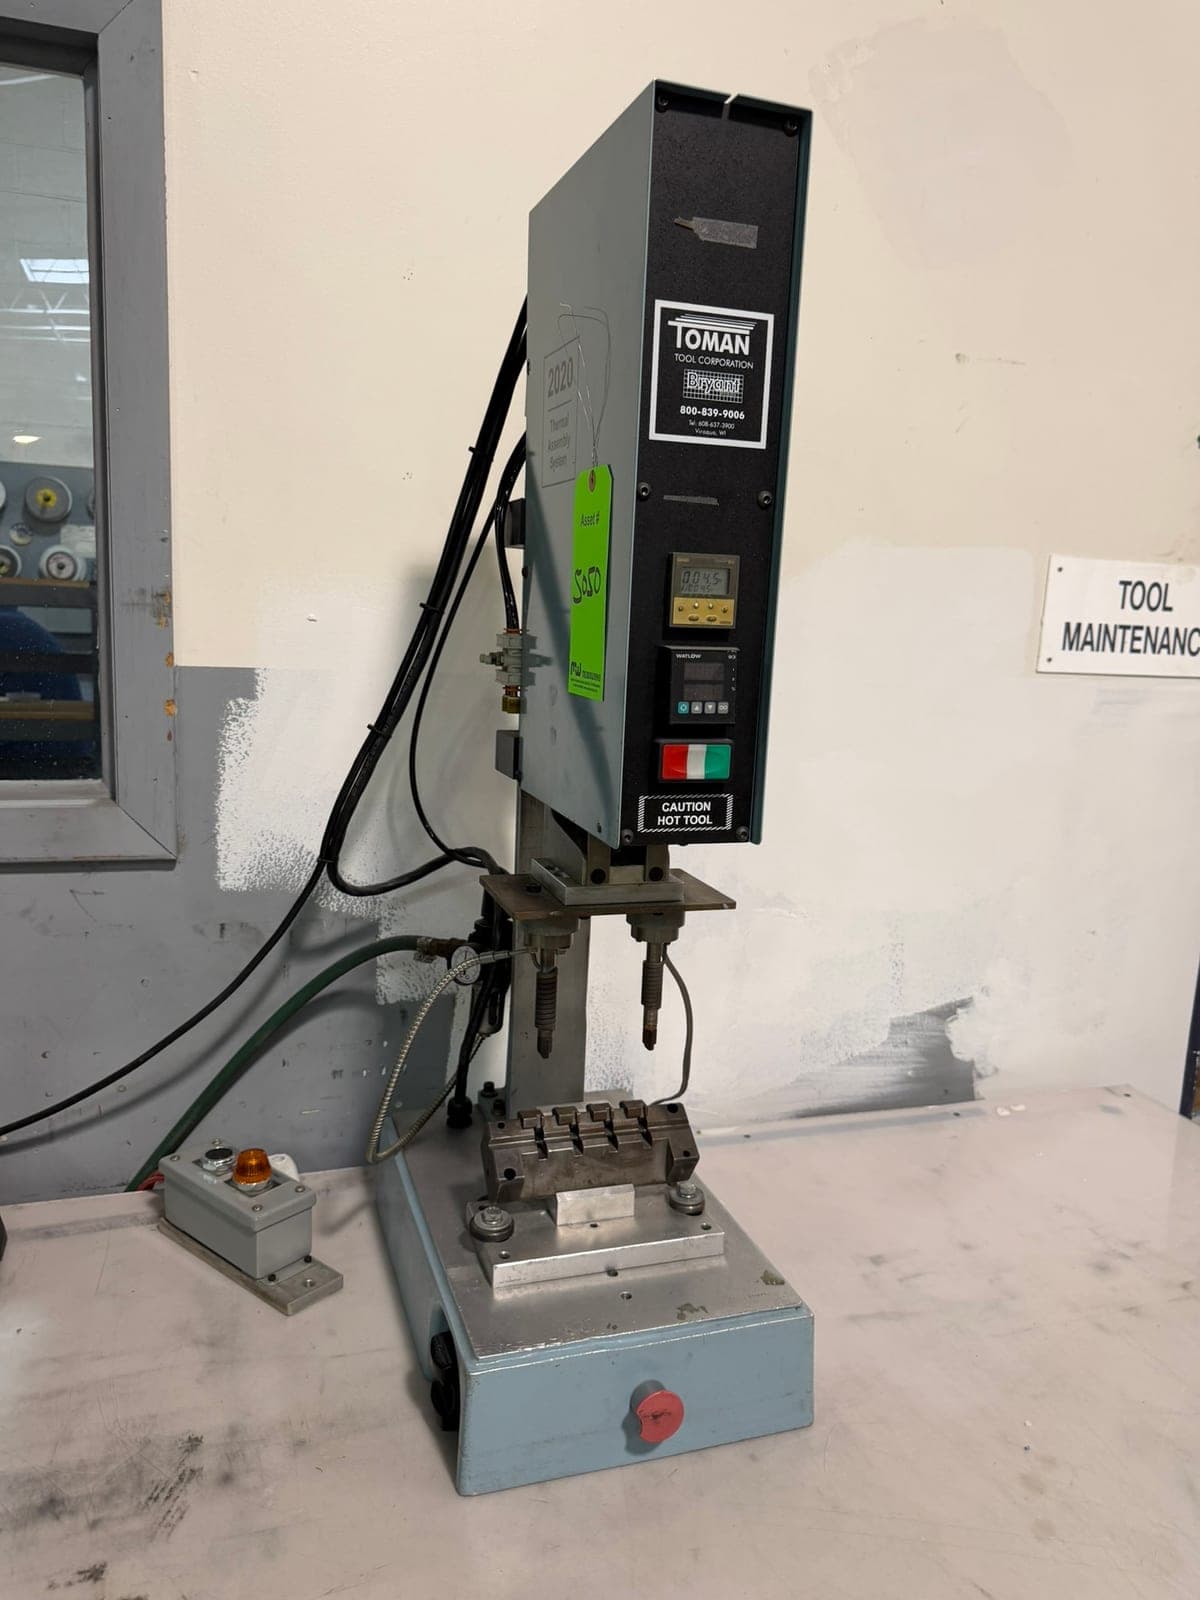
Lot 12
Toman Tool Thermal Assembly System / Heat Stake Press
Naperville, IL
Live auction · Tue, Oct 27, 10:00 AM CT
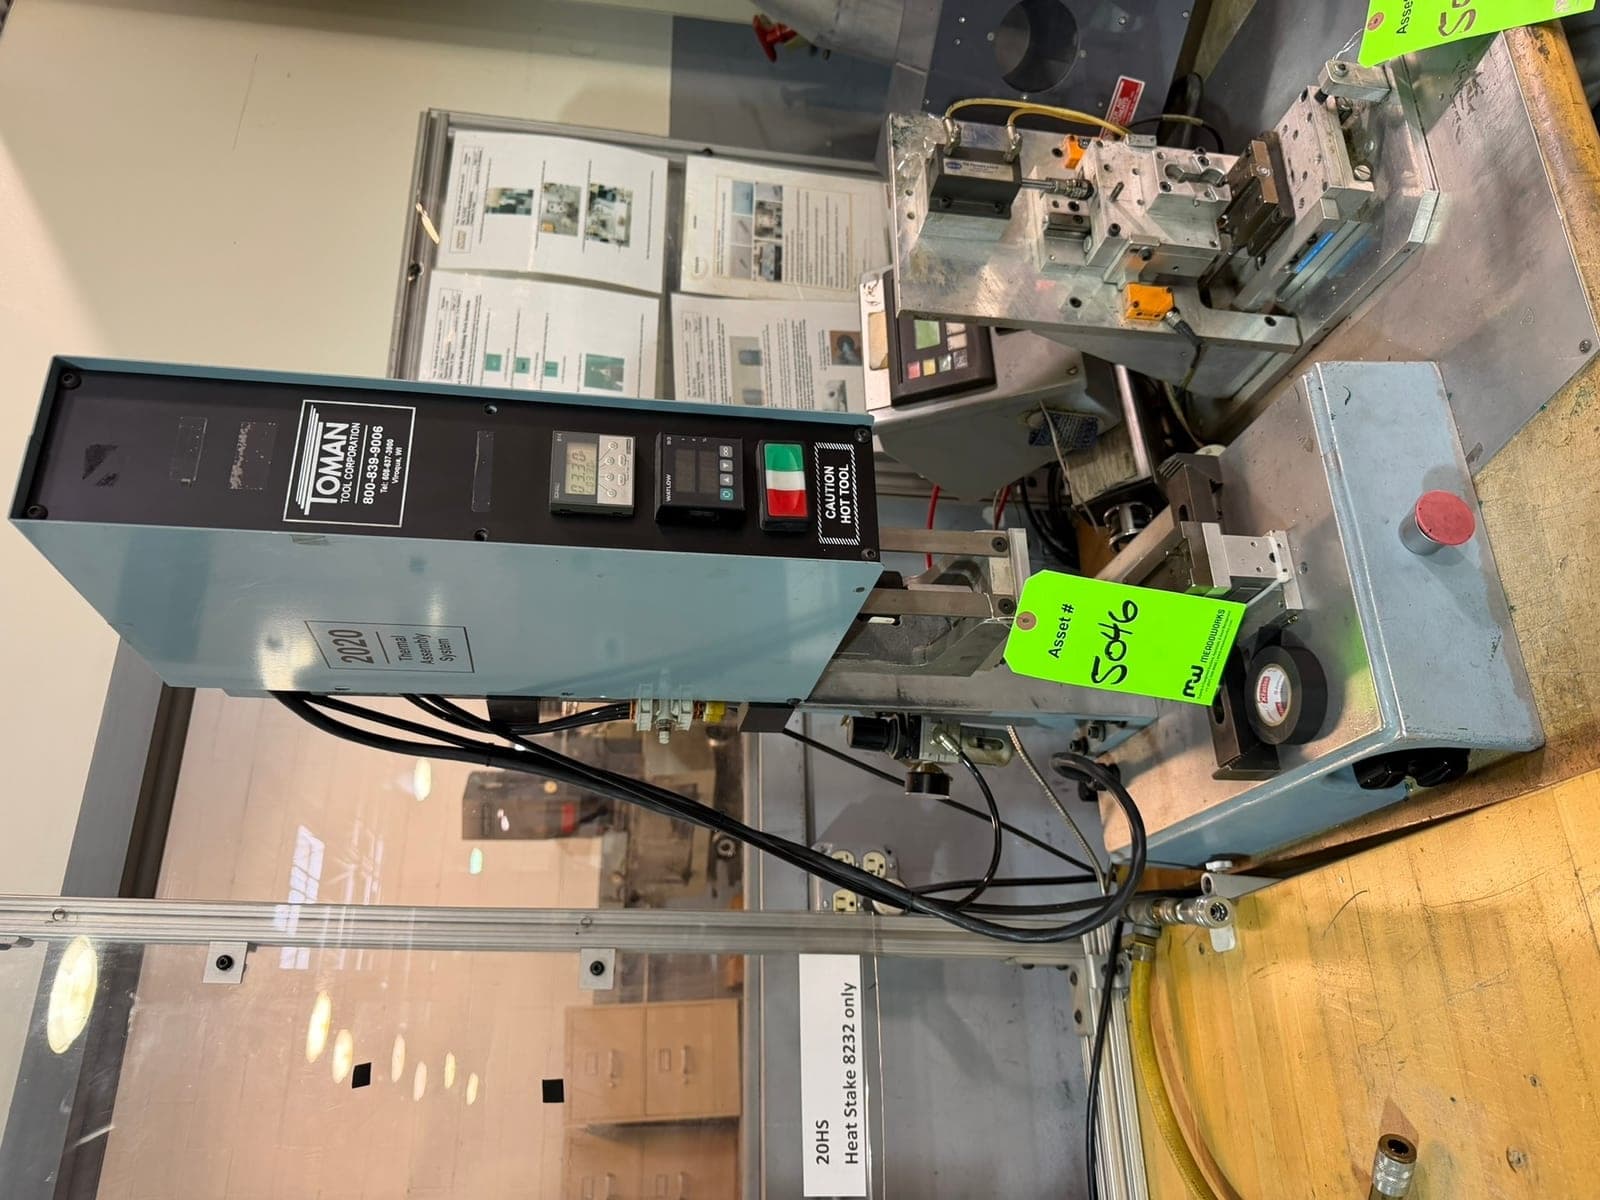
Lot 11
Toman Tool Thermal Assembly System / Heat Stake Press
Naperville, IL
Live auction · Tue, Oct 27, 10:00 AM CT

Hermann - PS Dialog
USA
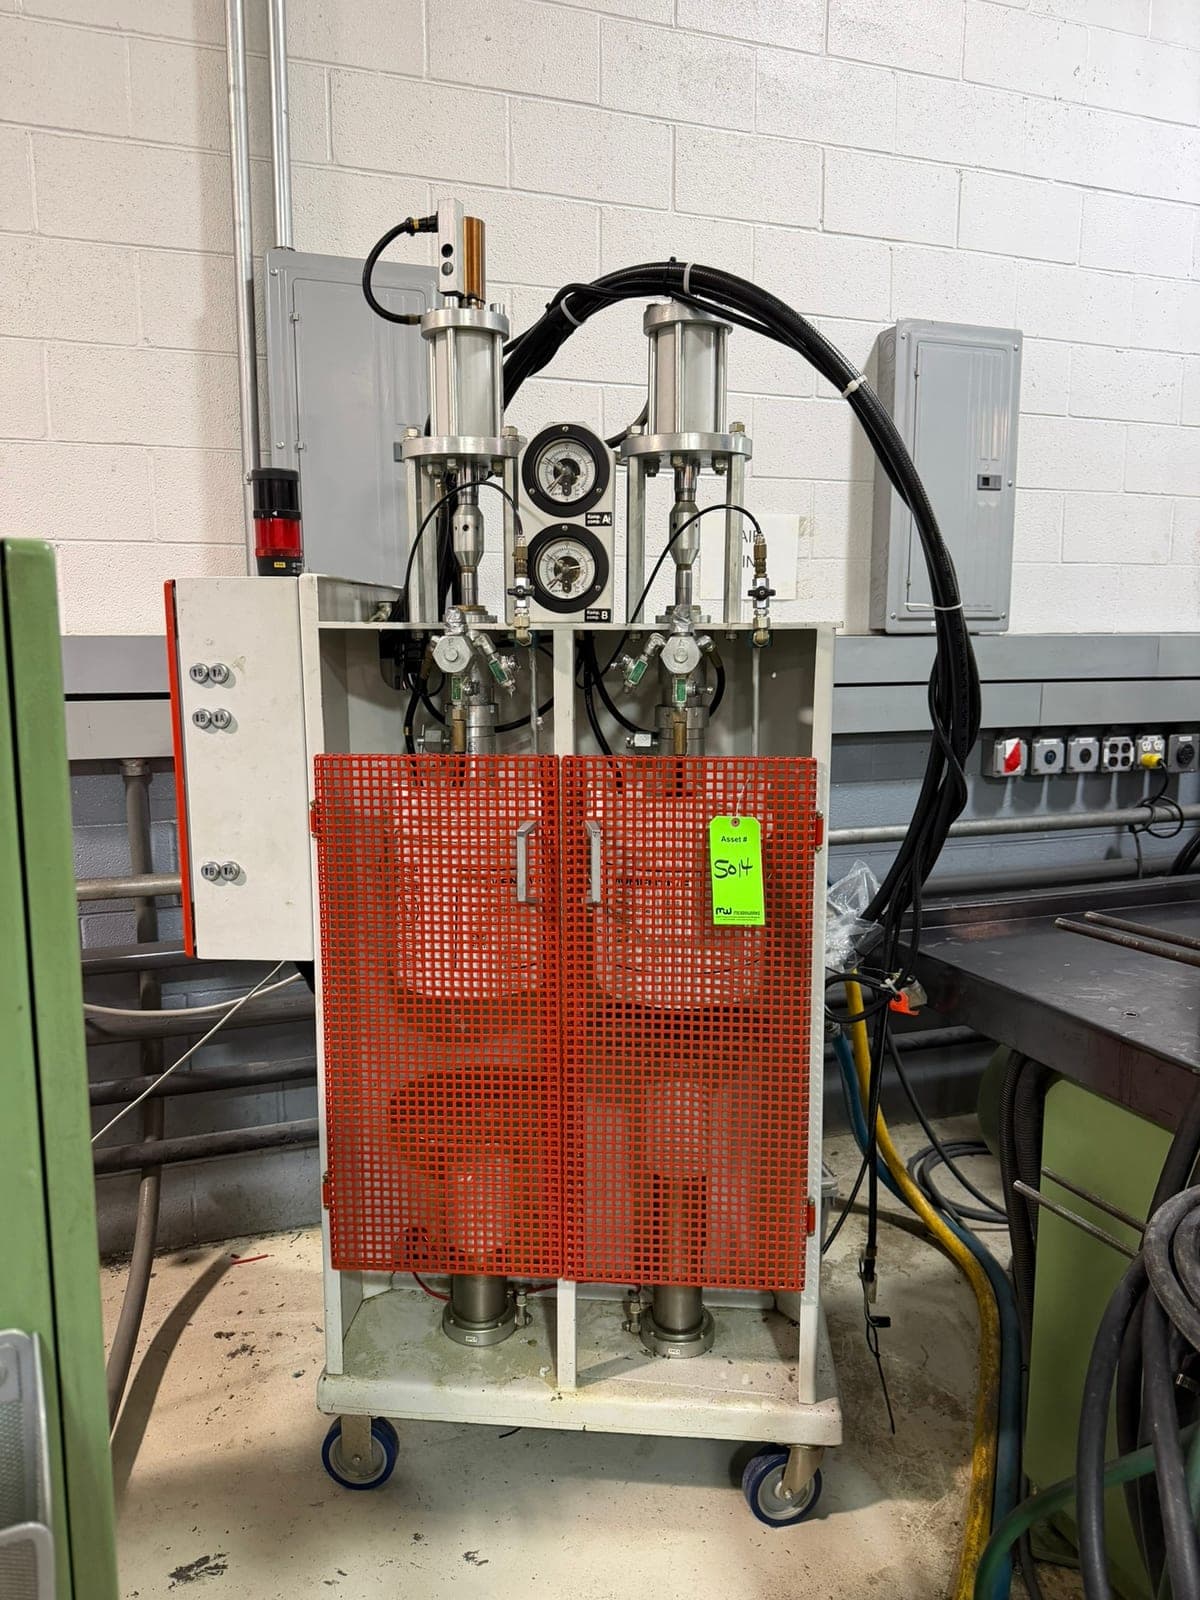
Lot 121
2KM Two-Component Metering and Mixing System
Naperville, IL
Live auction · Tue, Oct 27, 10:00 AM CT
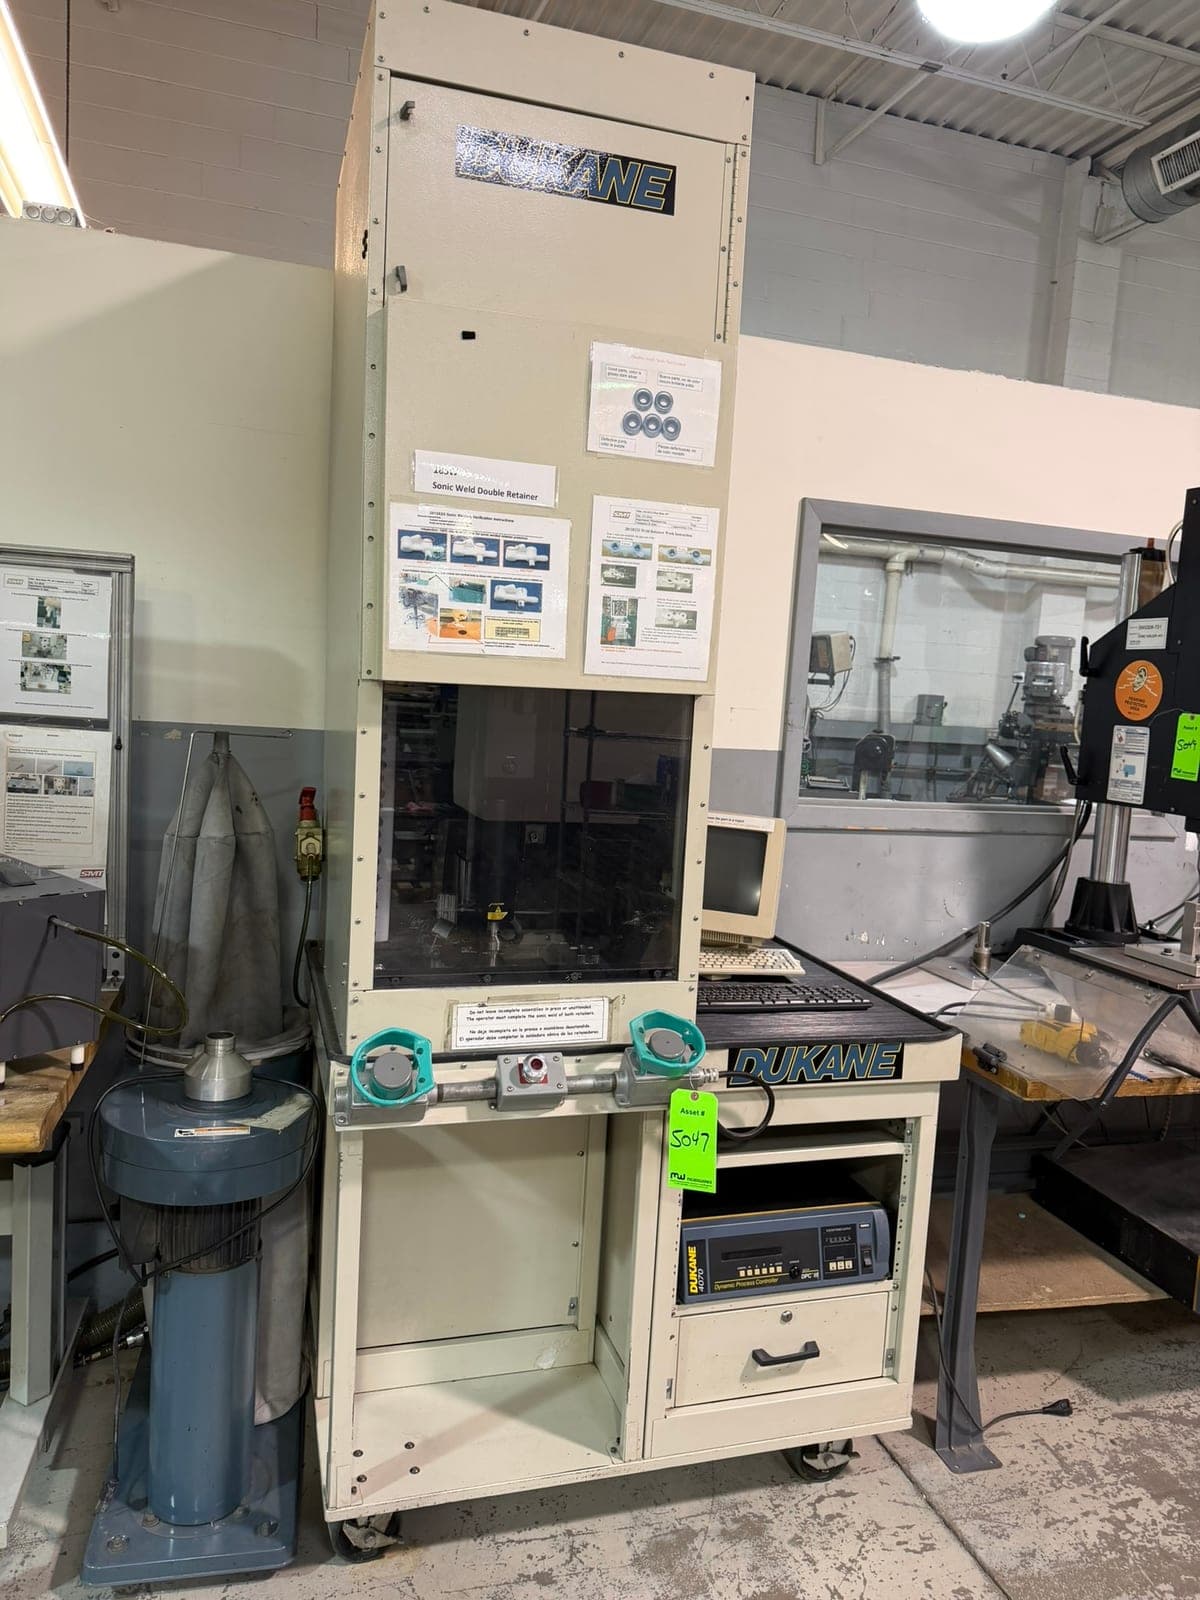
Lot 15
Dukane Enclosed Ultrasonic Welding Station
Naperville, IL
Live auction · Tue, Oct 27, 10:00 AM CT
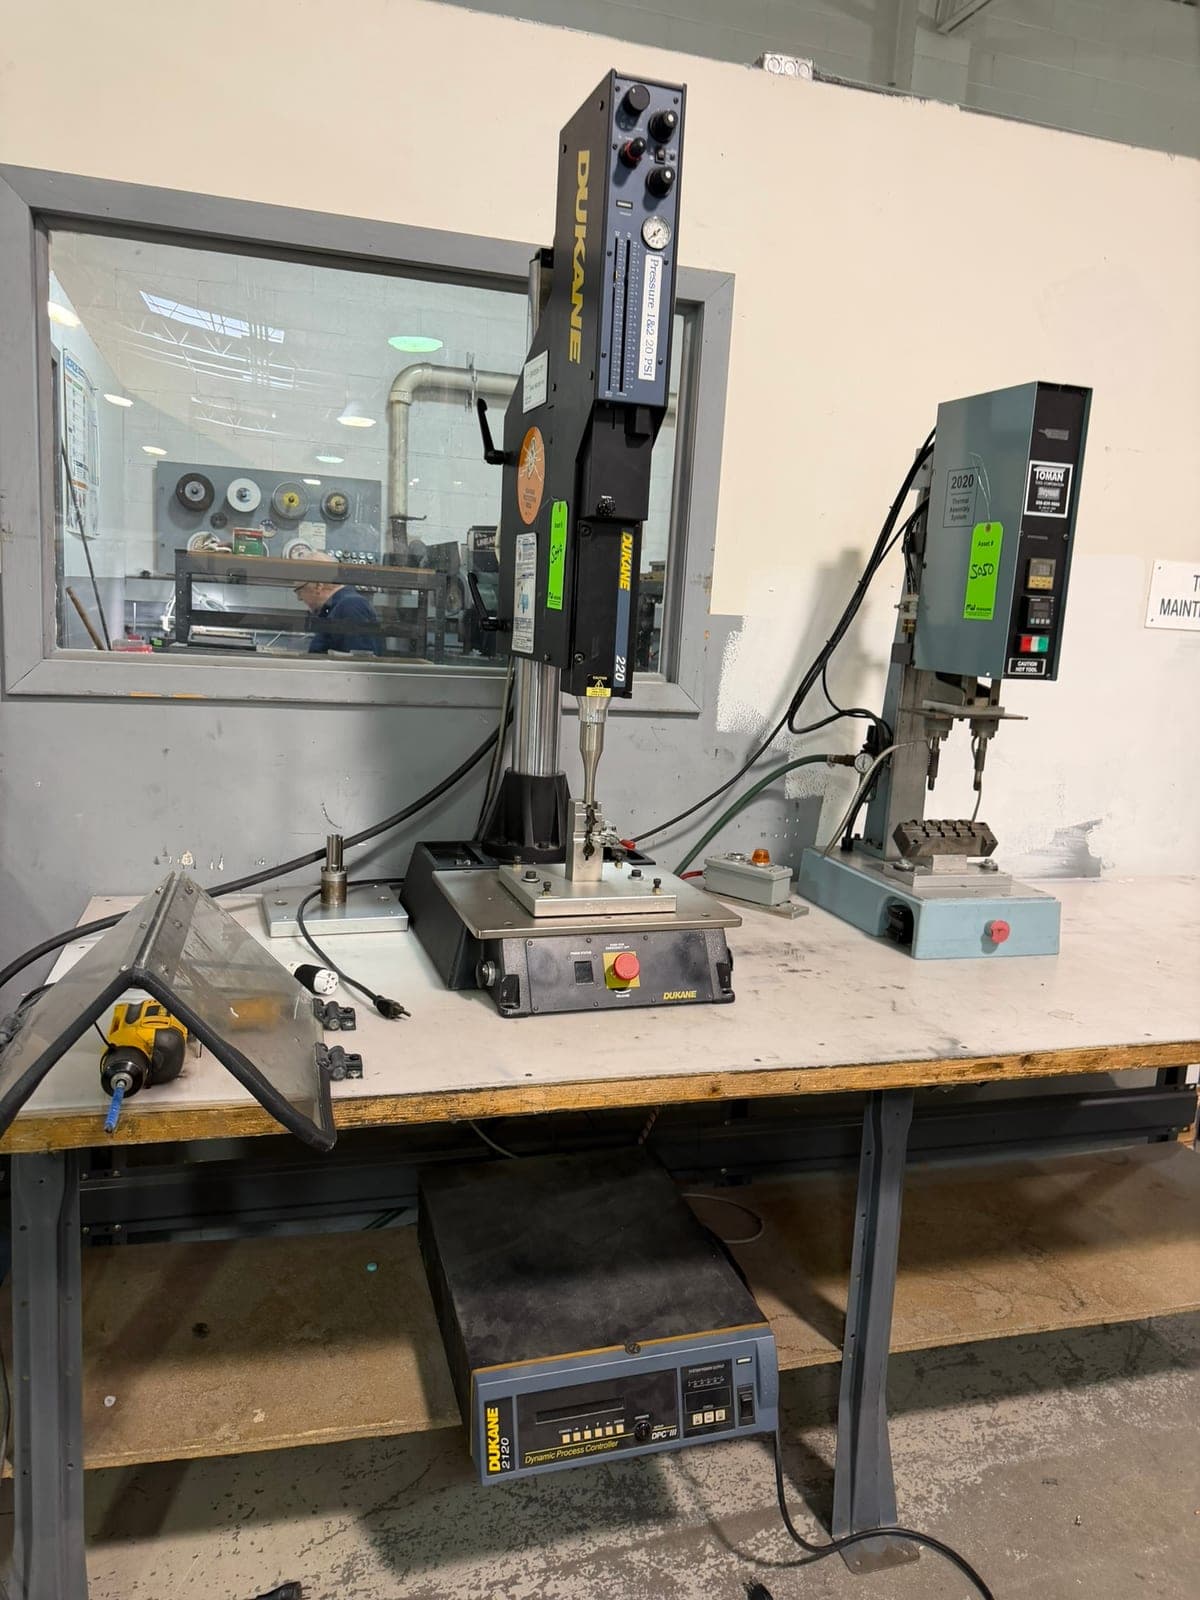
Lot 14
Dukane Ultrasonic Welding Press w/2120 DPC III Generator
Naperville, IL
Live auction · Tue, Oct 27, 10:00 AM CT
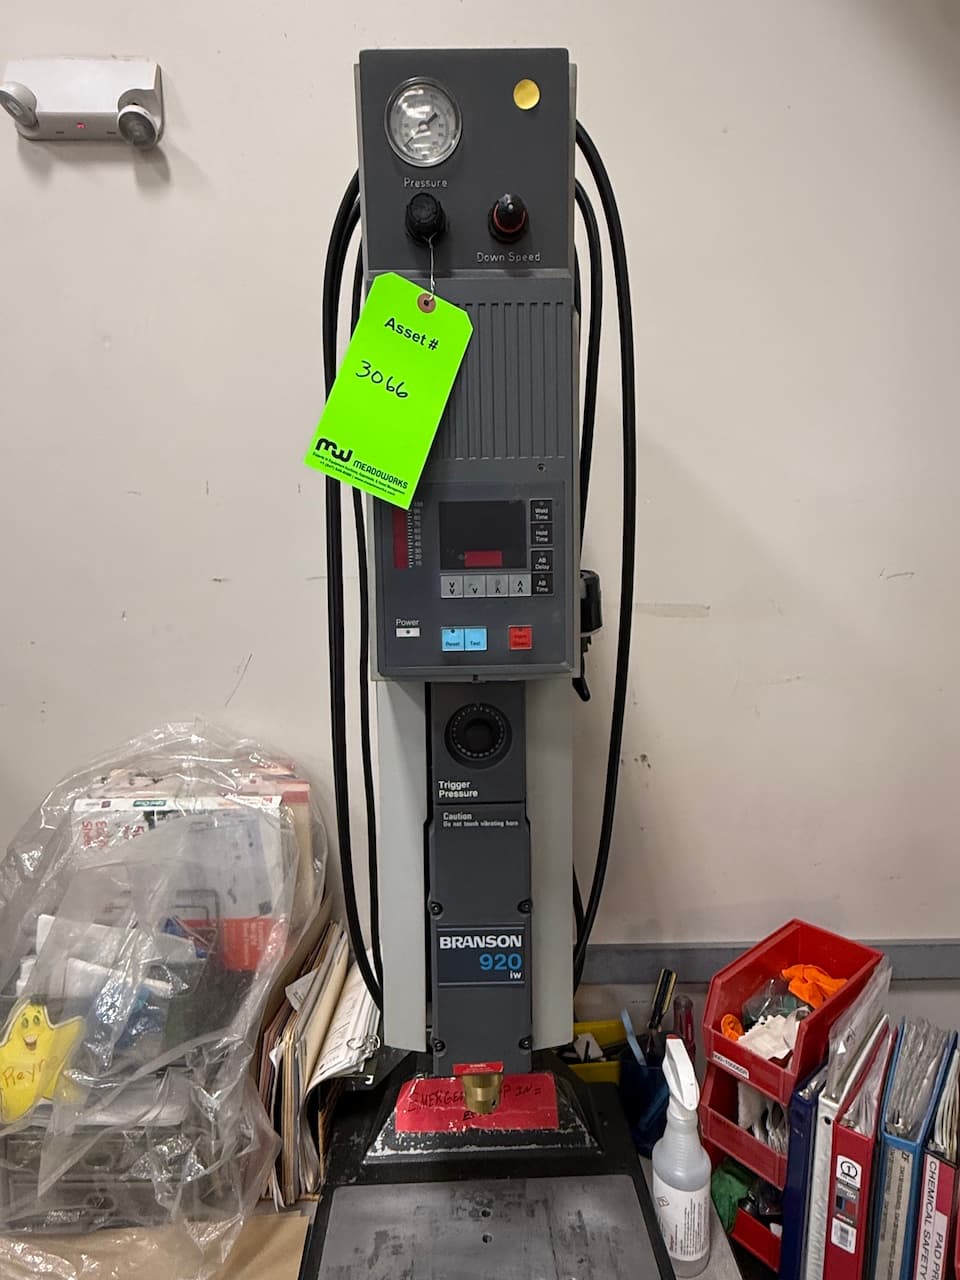
Branson Ultrasonic Welder
USA
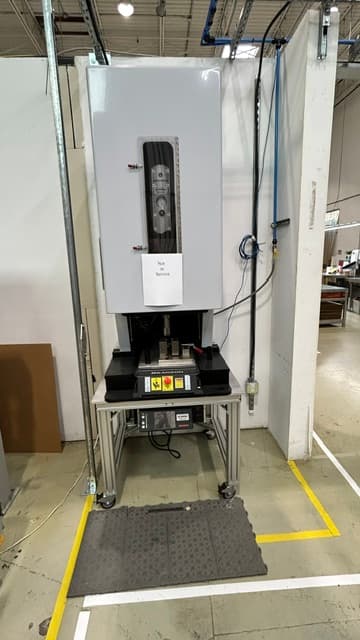
Lot 56
Branson 2000Xea Ultrasonic Plastic Welder, 20 kHz 2500W
Coquitlam, BC
Live auction · Tue, Oct 20, 10:00 AM CT

Fluid Automation - 622-1A LSR Mixing & Dispensing System
USA
Looking for Something Specific?
Most of our inventory sells before we can list it online. If you need a specific brand, model, or specification, tell us what you need—we have access to unlisted equipment and machines coming in from plant closures.
Looking to Sell?
Meadoworks is an active cash buyer of used industrial equipment. Get a free valuation from our AMEA-certified appraisers.
About Used Plastics Assembly & Welding Equipment
Plastics assembly is the joining work after a molded part leaves the press and still needs a mate, a cover or a gasket. Three machines do that work, and they do not share a tool. An ultrasonic welder melts a designed joint. Vibration and pressure focus on an energy director, a shear joint or a tongue and groove, then the slide holds while the melt freezes. Heat staking softens a molded stud with a heated tip and forms a head that captures a board, a filter or a second piece. A meter mix unit pumps two liquids at a set ratio, blends them at the nozzle and lays a bead or a shot. Drying resin, heating a mold and clamping a tool are earlier steps. The joint, the boss or the bead is what remains.
Pick the method from the feature on the part. A clear lens or a thin wall often marks under a horn, while a glass-filled nylon boss forms more cleanly with heat than it welds. A groove that must become a gasket is a measured volume of silicone or epoxy, not a weld and not a stake. Frequency, tip diameter and mix ratio are decisions for the machine that matches the feature. Buying the frame that happened to sit beside the press, then hoping to convert it, usually means buying the second machine anyway.
On the cell, this work sits downstream of molding. A robot or an operator sets the part in a nest, the station cycles, and the part moves to pack-out. The welder, the staker and the dispenser may share a bench and a drop of shop air, and they still will not share a horn, a tip or a mix nozzle. Voltage is usually one circuit, simpler than the press they follow. A light bench unit can weld or stake a small housing a few times a minute. A long bead, a multi-point pattern or a large joint needs a stiffer slide, more power and a fixture that locates the part the same way every cycle. Count the points on one part, then the parts per hour. Press tonnage does not size the station.
A used plastics assembly machine is worth a cycle on a real part or a coupon. A quiet frame can hide a dead generator, a worn tip or a pump that has lost its ratio. A dry slide only proves the ram moves. Read the nameplate for watts, tip temperature or pump size, feel the slide for play, and listen for an air leak that will not hold force through the dwell or the weld hold.
Meadoworks gathers these stations from molding-cell closures, consignments and auctions. You can cycle the joint before you commit, and the nest can ride with the press when the cell moves as one load. Separate the joiners from the cabinets that only heat, dry or convey resin, or the purchase fills a shelf and the part is still unfinished.
How to Choose Used Plastics Assembly & Welding Equipment
How to Choose a Plastics Assembly Method
Start from the feature on the part, not from the frame in the photo. A tongue, a shear joint or an energy director wants vibration and a horn cut for that joint. A molded stud that must capture a board, a filter or a nameplate wants a heated tip and a dwell. A groove that must become a gasket wants two liquids metered and mixed at the nozzle. Those are different tools, different nests and different cycle times.
If the part could be made more than one way, let the resin and the cosmetics decide. A clear lens marks under a horn. A boss in glass-filled nylon forms cleanly with heat and barely welds. Write the feature down before you compare frames, or you will price a press that cannot finish the part.
How to Size a Plastics Assembly Station
Size the station from the part and the rate, not from the tonnage of the press that molded it. Count the points on one part, then the parts per hour. A small housing joined a few times a minute can live on a benchtop ram. A large joint, a multi-point stake or a long gasket bead needs a stiffer slide, more power and a fixture that locates the part the same way every cycle.
Leave room for the nest, the guards and a place to set rejects. Air pressure and voltage have to match the cell. A station that is right on the joint and wrong on power still does not run. Plastics assembly only finishes the feature you named.
Plastics Assembly & Welding Equipment Specs to Compare
| Spec | Typical range | Why it matters |
|---|---|---|
| Joining method | The feature decides the machine. A horn, a heated tip and a mix head are not substitutes for one another. | |
| Press force or thrust | Force holds the parts while the joint forms. A light or leaking slide will not repeat a large part. | |
| Power or heat source | Welder watts, tip temperature or pump size decide whether the plastic at the joint actually melts and holds. | |
| Tooling interface | The horn, tip or mix nozzle has to match the part. A sound frame with the wrong tool ships nothing. | |
| Control mode | Time, energy, temperature or shot size is how the cycle knows it finished. A bare timer can hide a weak joint. | |
| Utilities | About 110 to 240 V | These benches usually want one voltage plus shop air. A mismatch stops the station even when the mechanics are sound. |
Joining method
The feature decides the machine. A horn, a heated tip and a mix head are not substitutes for one another.
Press force or thrust
Force holds the parts while the joint forms. A light or leaking slide will not repeat a large part.
Power or heat source
Welder watts, tip temperature or pump size decide whether the plastic at the joint actually melts and holds.
Tooling interface
The horn, tip or mix nozzle has to match the part. A sound frame with the wrong tool ships nothing.
Control mode
Time, energy, temperature or shot size is how the cycle knows it finished. A bare timer can hide a weak joint.
Utilities
Typical range: About 110 to 240 V
These benches usually want one voltage plus shop air. A mismatch stops the station even when the mechanics are sound.
What to Inspect on Used Plastics Assembly & Welding Equipment
Cycle a real part
A dry slide only proves the ram moves. Ask for a coupon or a real part and look at the joint.
Identify the joining tool
Confirm a horn, a stake tip or a mix head, and that the tool matches the feature you mold.
Read the nameplate power
Watts, temperature range or pump size tell you whether the station can keep up with the joint.
Check the slide and nest
Play in the slide or a worn nest shifts the joint. Cosmetic parts show that error immediately.
Listen for air leaks
A press that will not hold force often has a leaking cylinder or a tired regulator.
Match voltage and air
Confirm volts, phase and the air pressure the builder called for before you plan the install.
Look at guards and controls
A missing light curtain or a dead display is repair time. Note it before you compare two frames.
Meadoworks Track Record
14
Sold through Meadoworks
9
Listed now
Makes we have handled most
Common models
Fluid Automation 622-1A, EFD Ultra TT Series 325, Graco C500 - 3D Contour Motion Material Dispenser, Toman Tool 2020
Related Equipment
- Ultrasonic Welders
Vibration joints, horns and generators
- Heat Stakers
Formed bosses with a heated tip
- Dispensing
Metered silicone and epoxy beads
Plastics Assembly & Welding Equipment Brands We've Sold
Fluid Automation
Builder of meter-mix systems for liquid silicone.
Branson
Emerson brand known for ultrasonic plastic welding.
Graco
US maker of pumps, meters and fluid dispensers.
Dukane
US builder of ultrasonic welders and presses.
Toman Tool
Maker of thermal staking presses for molded bosses.
EFD
Nordson brand for precision fluid dispensing valves.
Common Applications
Frequently Asked Questions
What does plastics assembly include after molding?
Plastics assembly is the joining step after a part is molded: an ultrasonic weld, a heat-staked boss, or a meter mix bead of silicone or epoxy. It is not the dryer, the loader or the thermolator that prepares resin. The three methods do not share tooling. A horn melts a designed joint. A heated tip forms a stud into a head. A mix nozzle lays a measured shot. Decide which feature is still missing, then compare frames built for that feature. A closure often sells all three beside one press, and they are not substitutes.
How do I choose welding, staking or dispensing?
Match the feature on the part. A designed weld joint with an energy director points to an ultrasonic press. A molded stud that must capture another piece points to heat staking. A groove that must become a gasket points to a meter mix dispenser. Resin and cosmetics break a tie. Clear parts and thin walls often mark under a horn, while a glass-filled boss forms more cleanly with a heated tip. Write the feature down before you compare machine frames or brand names, or the purchase fills a bench and the part is still open.
How do I size a joining station for parts per hour?
Count the points on one part and the parts you need per hour. A small housing joined a few times a minute fits a benchtop press. A large joint, several stake points or a long bead needs more power, a stiffer slide and a fixture that locates the part the same way every cycle. Then match air and voltage to the cell. Press tonnage does not size this station. The joint and the rate do. Leave room for guards and for parts that fail the pull or leak check.
What should I inspect before buying joining equipment?
Run a real part or a coupon, not an empty slide. Confirm the tool on the machine is a horn, a stake tip or a mix head that matches your geometry. Read watts, tip heat or pump size on the plate. Feel the slide for play and look at the nest. Listen for air leaks that will not hold force. A dead display or a missing guard is repair time you should price before the truck leaves, not a surprise after it does.
Do a horn, a stake tip and a mix head share tooling?
No. A horn is tuned for one frequency and one joint. A stake tip is cut for one boss diameter. A mix nozzle and static mixer are sized for a viscosity and a bead. They may share a bench and a plant air drop, and they still will not share tools. Buying one frame and hoping to convert it later usually means buying the second machine anyway. Pick the method, then the tool, then the frame that can repeat it.
Where does joining sit relative to the molding press?
Downstream. The press has already filled the part. This step joins it, captures a second piece or lays a bead. A robot or an operator sets the part in a nest, the station cycles, and the part moves on to pack-out. Utilities are usually simpler than the press: shop air, a single voltage and a fixture. When a cell is sold together, keep the station with the press so the nest and the joint stay a matched pair.
